




You zoom down the path, wind in your hair with the landscape blurring past you when the realization comes that you have no idea how to slow down safely. How do you stop on inline skates? The thrill of roller skating doesn’t feel quite as wonderful if when you go faster than you can handle at your current experience or skill level. That is why it’s so important for those who first strap on inline skates for beginners to practice this fundamental ability first: stopping.
Without proper stopping or braking techniques, your only options are to run into a wall or other immovable object or to fall down and hope for the best. These are no only uncomfortable and awkward but also increase the chance of injury and damage to your gear.
The good news is that there are a few beginner-friendly stopping methods for inline skaters. From using the heel brake properly to learning the more advanced T-stop, you can find a way that works for you every time. In this guide, we’ll explain the methods that work best and help you avoid some common mistakes.
Why is learning how to stop properly on inline skates so important?
If you have never put on a pair of roller skates before in your life, there’s nothing wrong with stopping by bumping slowly into a solid object like a wall. Many start out as kids, teens, or adults by grabbing onto a friend nearby. They may halt your forward motion and prevent you from falling on the floor, but they’re certainly not a real way to brake during an active outing.
Imagine rolling down a park path with little hills and curves. The last thing you want to do is zoom off into the woods and hit a tree. Now consider an inline skating trip across town near traffic. Running into something in order to stop takes on a whole new danger level.
Learning the proper way to stop not only makes you look like you know what you’re doing. It also greatly reduces the risk of getting hurt or hurting anyone else. You also won’t damage a building, car, park bench, or foliage by crashing into it!
Luckily, learning to stop in a variety of ways isn’t that difficult at all. As long as you start out slowly and take things one step at a time, you can learn all the methods used by beginners and advanced skaters alike.
How do you stop on inline skates? Three top methods.
There isn’t one single correct or recommended method for coming to a complete stop when you’re wearing inline skates. Your experience level and the specific situation and setting matter quite a bit. Don’t jump into anything advanced just because it seems more impressive before you’re ready.
There are two main categories: brake-assisted and no-brake methods. The first only works if you have skates that come with a built-in heel stop. These are rather standard on most styles, especially those designed for children or beginners. Even if yours has one, you might want to try the other ways as you gain confidence, coordination, and skill.
The Heel Brake Stop – Built-In Help for Inline Skaters
Beginners should learn this method for stopping while using inline skates first. It is the standard safe and accepted method. It’s also the easiest.
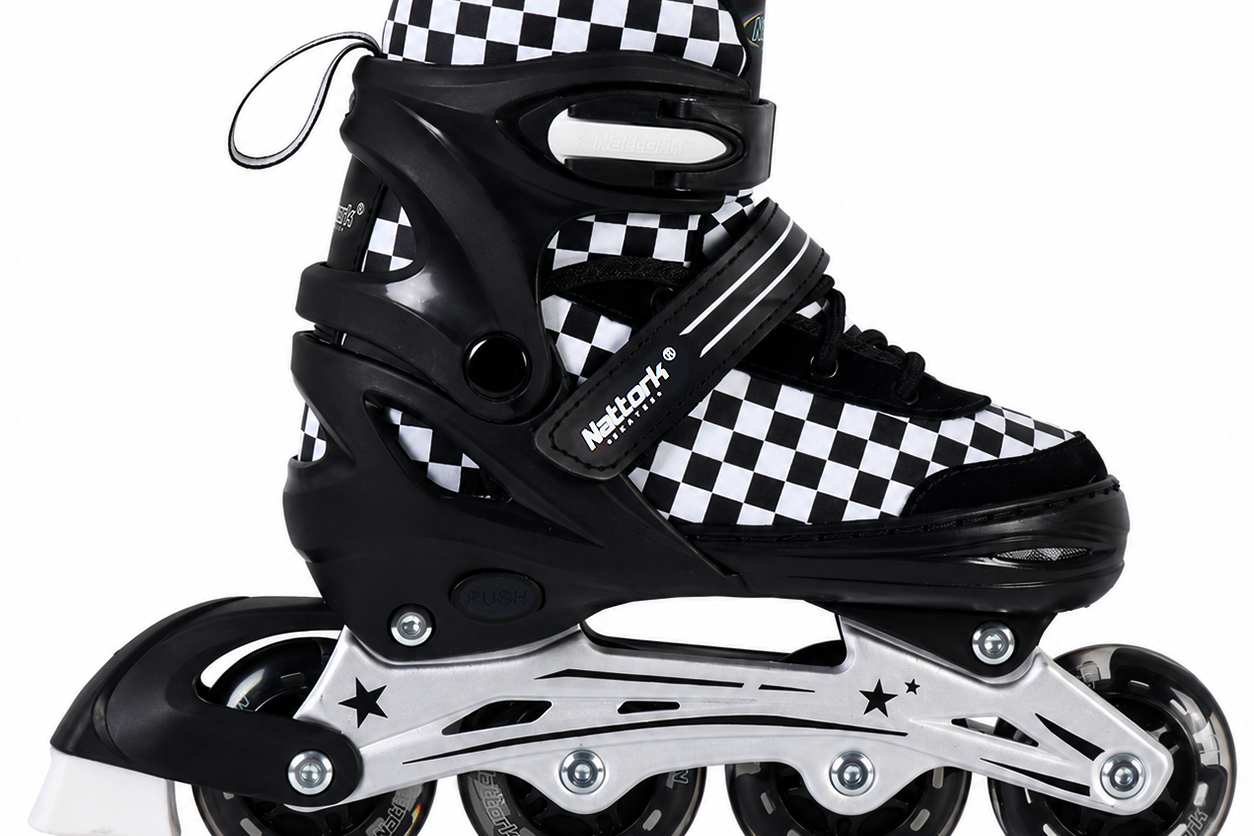
Look at your new pair of Nattork inline skates. On the back of the right skate, you will find a thick, rubber pad attached to a sturdy part that protrudes from the boot itself. This is the brake pad. Using it is simple as it works on the principles of friction.
1. Roll forward at a slow, steady pace on a flat, smooth surface.
2. Separate your feet slightly by moving the one with the brake forward a bit.
3. Lean that skate back as if you’re shifting weight onto your heel.
4. Press down gently and gradually until the brake pad hits the ground and creates friction.
5. Keep pressing a bit harder to slow down at a safe rate until you stop.

When you’re first learning, give yourself plenty of space to slow down a little bit at a time. If you press too hard with your heel, you will stop too quickly and might fall down. It’s tough to balance if your speed changes abruptly. Do not lean back too far. There’s no need to shift your balance backward on the skate that does not have the break. Keep that one steady and level as you glide.
The Plow Stop – Stay in Control Without Brakes
Once you’ve perfected using the brake, it’s time to move on to more advanced skills. This is also the go-to stopping method if your skates don’t have a heel brake. You don’t have to rely on the equipment even if you don’t maintain it as well as you should and replace the brake pad when it shows signs of wear. The plow stop might take a bit more balance and maneuverability, but it’s also a beginner-friendly stop.
If you’ve ever gone downhill skiing, you will recognize the plow stop quite well. When you angle your feet on the slopes, you actually plow up snow in front of you. On the pavement, you won’t do this, of course, but the steps remain the same. Remember all the good habits of keeping your knees bent and your center of balance shifted slightly forward to minimize the risk of falls.
1. Roll forward at a slow, steady rate of speed on a flat, smooth surface.
2. With your feet about shoulder-width apart, turn both toes inward slightly.
3. Push out gently with your heels until your skates form a gentle V-shape.
4. Increase the angle of your skates until you come to a stop.

Just like with the heel pad brake stop, it’s important to do this slow and steady at first. Don’t make any drastic moves or try to shift your feet into the V-shape too quickly. That might make you pitch forward and fall onto your knees.
The T-Stop – Intermediate Method for More Control
Now the time has come to try more advanced methods of stopping on inline skates. This one doesn’t rely on the brake pad or any other part of the skate. Nor does it allow you to gradually push both skates into a new position. Before you try it, practice and master standing on one foot and gliding forward first. If you can do that, you can perform a T-stop with less risk.
1. Start as usual with a slow rate of speed on a flat surface.
2. Shift your weight onto a single skate, usually on your stronger or dominant side.
3. Pick the other skate off the ground, rotate it 90 degrees, and put it behind your rolling skate. This forms the T shape the stop is named for.
4. Drag the side of the wheels lightly against the ground to create friction and slow down.

This inline stopping method carries more chance of losing your balance and falling down than the other ones. First, you’re standing on only one leg. Second, you’re dragging your foot behind you in a way that makes it hard to recover if you start to wobble. However, it also gives you a greater sense of control especially at higher speeds.
What is the best way to practice inline skate stopping techniques?
Always start on a smooth, flat surface. If possible, have soft landing spots nearby such as grass or even mats. Sturdy, upright objects you can grab onto if necessary can also help. Before you even roll forward at a slow speed, practice the movements for the heel brake, plow stop, and T-stop first. Then you can use them confidently in action.
Common Mistakes Beginner’s Make When Stopping on Inline Skates
The earlier you catch your mistakes, the easier it is to learn. Also, you can prevent yourself from learning bad or dangerous techniques from the start.
1 – Leaning Backward or Forward Too Far
Even when using the heel brake pad, you do not want to lean backward when you stop. Your feet should be the only things leaning with different pressures. When you skate, your body should naturally lean or bend forward slightly. This helps stabilize your center of gravity and ensures you fall in the safer direction if you go down. Of course, if you lean forward too far, you’ll also lack stability to stay upright when stopping.
2 – Stopping Too Suddenly
Any abrupt change in speed creates instability. If you stop too quickly, your body will keep moving and propel you straight to the ground. Don’t stomp down on your heel brake. Don’t move into a high-angle plow shape or press down with your rear foot in a T-stop right away. Use gentle, gradual pressure until you get a feel for how things work.
3 – Pushing to Learn the Fun Stuff Before the Fundamentals
Everyone wants to go fast and zoom down the path when they first strap on a pair of inline skates. You may dream of doing jumps, twirls, and tricks with your cool new gear. There’s a real problem with practicing all the fun stuff before you master the skills that will keep you safe. Don’t ruin a slalom run by crashing into a wall at the end. Don’t destroy your dance routine by falling over when you try to stop. Stopping on skates is the most important thing to master.
Inline Skaters Need Safety Gear: A Checklist for Protection
No matter how good you get at inline skating, you always need to use safety gear every time you head outside. Anyone can hit an obstacle or lose their balance, and the last thing you want is a trip to the emergency room or a serious injury. Avoiding cuts, scrapes, and bruises is a good idea, too!
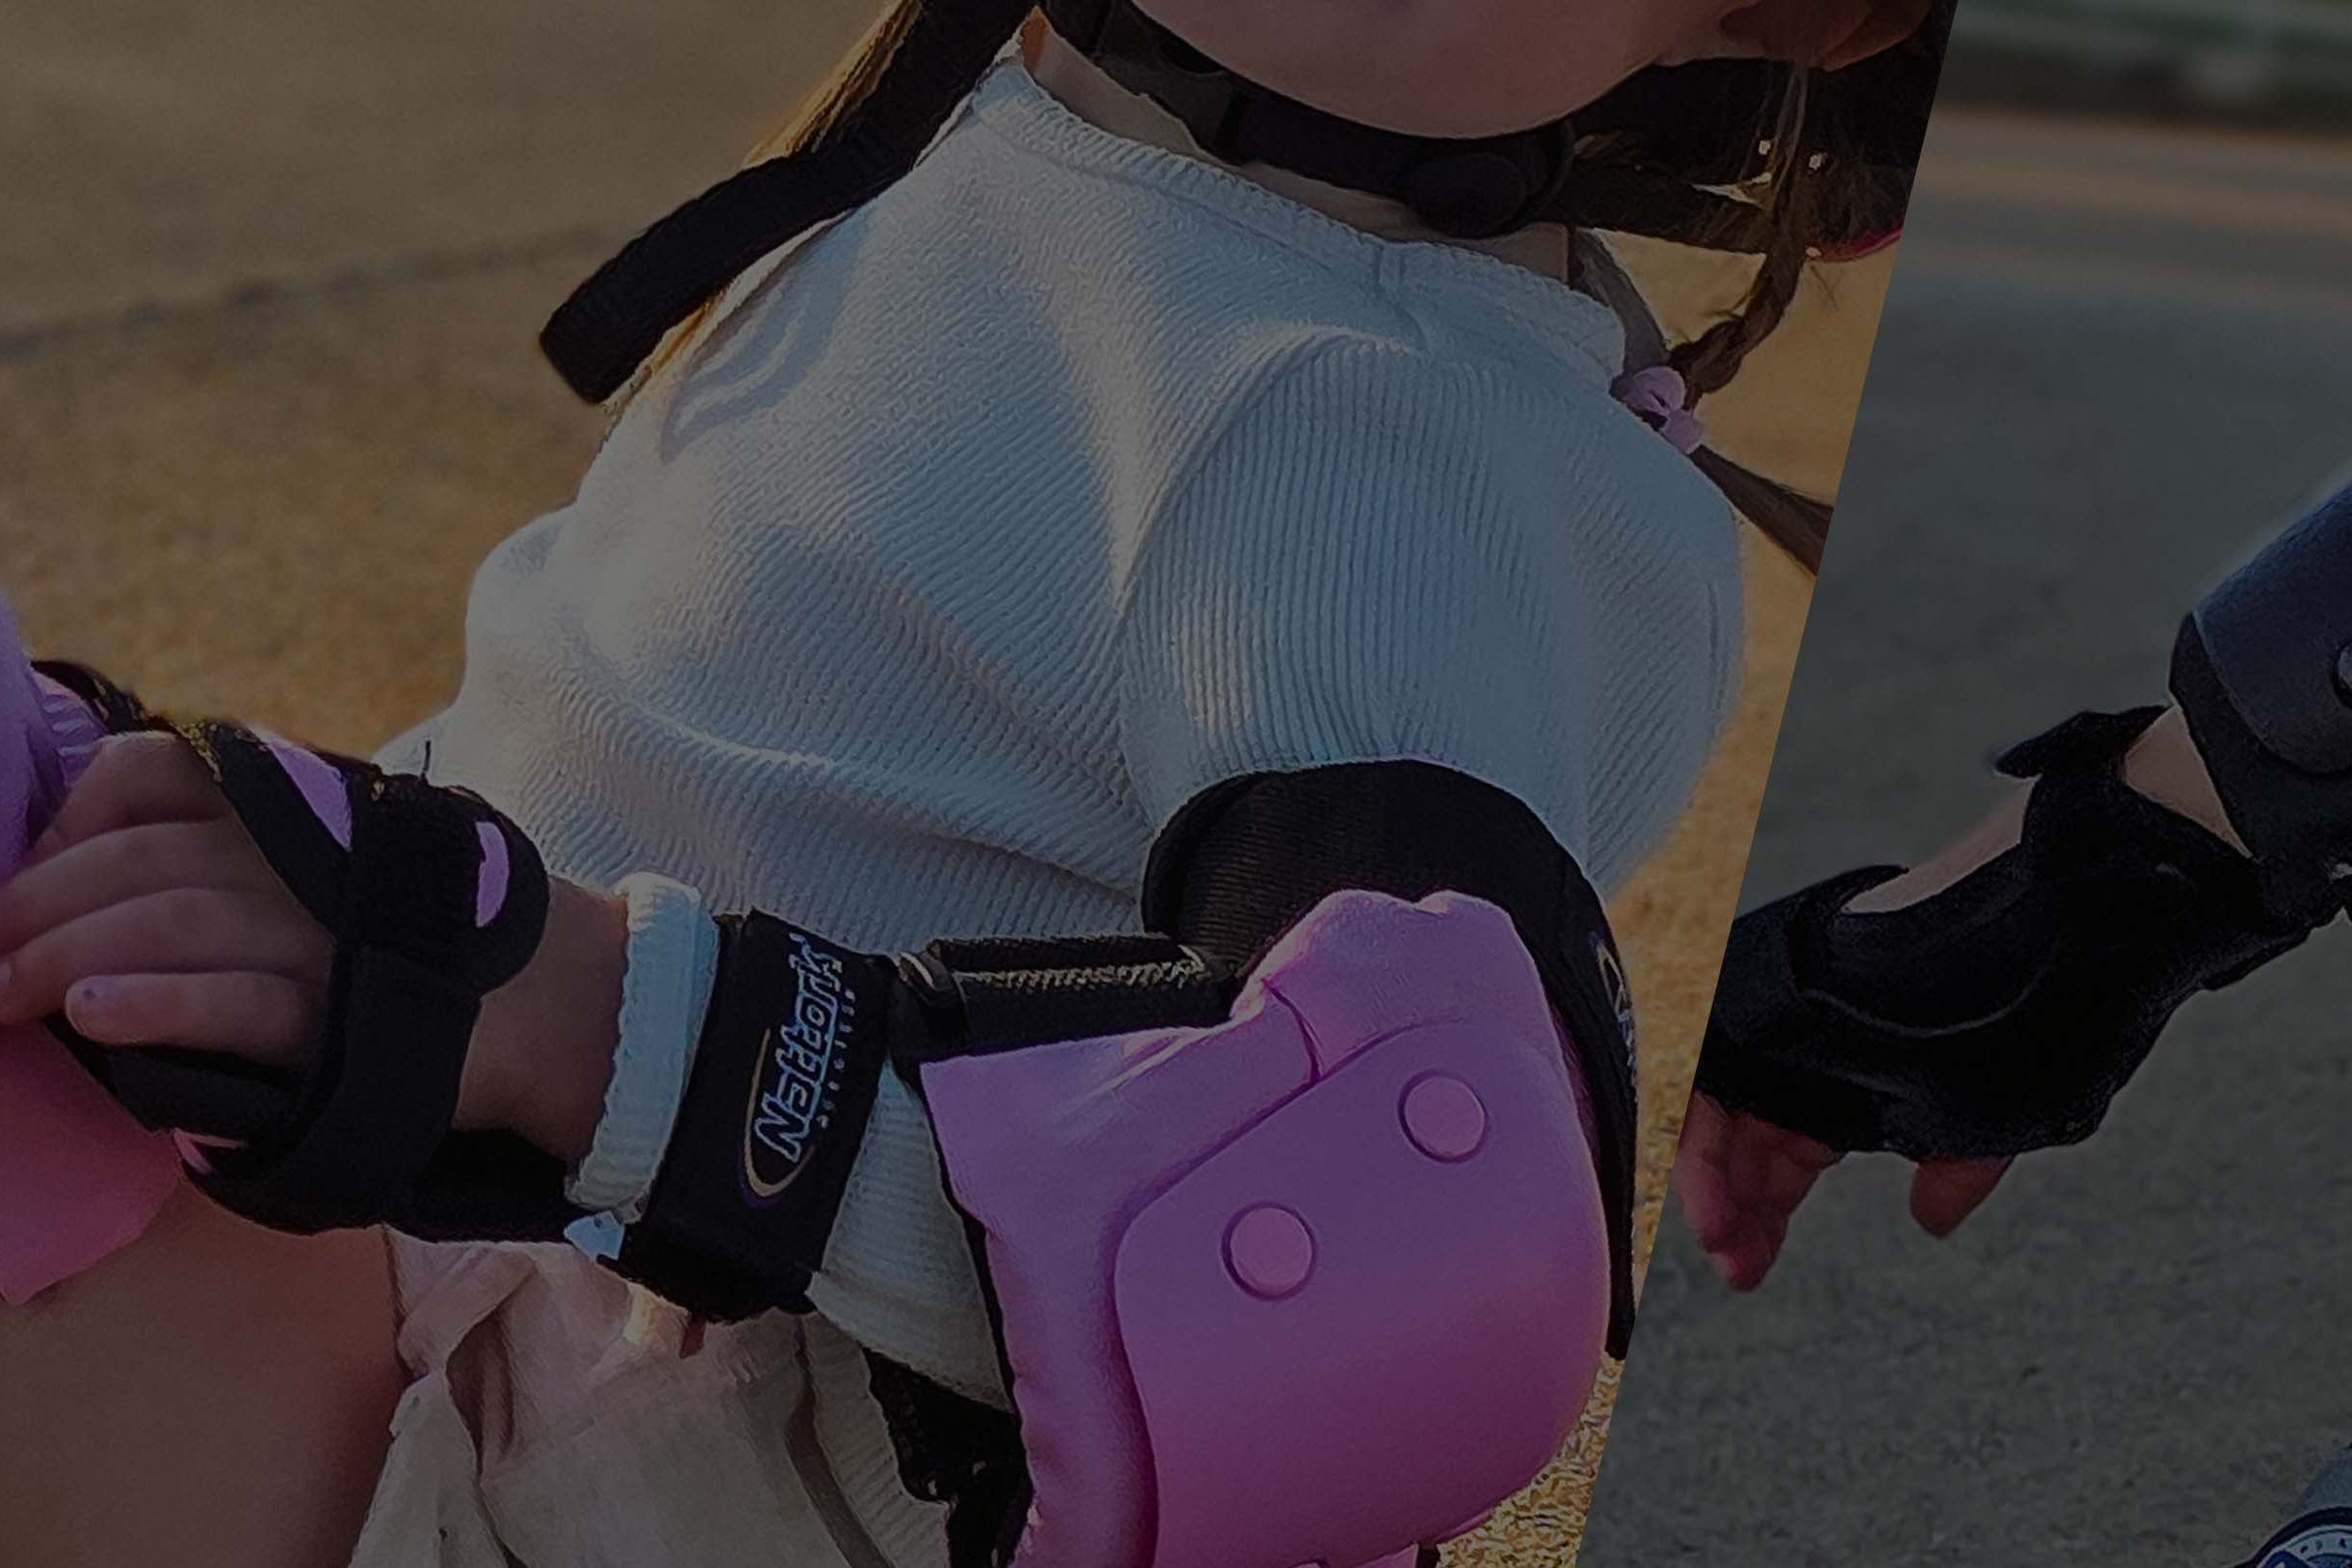
The basic safety gear everyone needs includes a properly fitted, approved helmet, padded knee and elbow pads, and sturdy wrist protection. These are the spots that are most likely to hit the ground if you fall. Luckily, a Nattork protective pack includes all these things in one convenient, affordable product. These are perfect for beginner skaters or more experienced kids who love a splash of colorful style with their activity.
Frequently Asked Questions
If you still need more information about learning how to stop while wearing inline skates or taking your skills to the next level, explore these FAQ now.
What’s the safest way to fall if you can’t stop in time?
If there’s any kind of soft surface nearby, aim for that. Otherwise, falling forward is considered much safer than falling backward. You’ll impact with your hands and knees, which should be protected with well-padded safety gear. If you topple backward instead, you have a greater chance of hitting your head on the pavement.
Are stopping techniques different for inline skates and traditional quad skates?
Yes. Quad skates usually have a toe-stop brake pad instead of one on the heel. You can, however, also use the plow and T-stop methods with each. Whichever you choose, they will feel different because of the placement of the wheels. Practice the skills separately if you use both inline and quad skates at different times.
Do all inline skates have a heel brake pad? Can I add one if mine doesn’t?
No, not all pairs of skates come with a heel brake. Beginner ones always do. Ones designed for basic recreational and fitness use also do. There are specialty racing and trick skates used by highly experienced people that do not have any brakes at all. Their entire frames may be different. Some have no place to add one either. If the inline skates you own have standard frames, it’s possible to buy separate braking assemblies and attach them yourself.
Now you know the ultimate answer to the question: How do you stop on line skates? You are ready to put on your safety gear, slip into the skates, and hit the trails or safe streets for a new adventure.
Related Blog:
Inline Skating for Beginners: Top Tips to Help Kids Learn Safely
